Getting It Perfect at OIINK
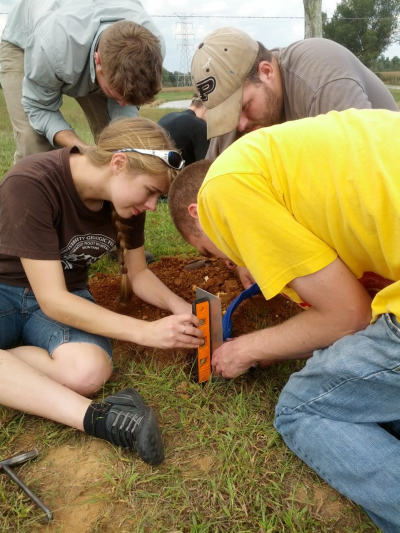 Gary Pavlis and Terry Stigall of Indiana University are proud of their geophysics students. The students were helping them to deploy some new direct-burial stations with Trillium broadband sensors for the OIINK project (a.k.a. SDYNAC, "Structure and Dynamics of the North American Craton"), and Terry directed them to get them perfectly level and lined up to north accurately. The students outdid themselves, and helped to make this a superb installation.
These students are from Gary Pavlis' Applied Geophysics class. They spent a weekend installing stations for the OIINK project.
Clockwise from upper right: Tyler Merrell, Steven Downey, Crystal Wespestad, and Brenden Fenerty.
Photographs courtesy Terry Stigall.
This research project, supported by the National Science Foundation, is playfully dubbed “OIINK” after its principal study area — the Ozarks, Illinois, Indiana, and Kentucky. The OIINK experiment includes a 3-D, broadband, passive seismic array centered over the depocenter of the Illinois Basin. The array was designed to provide enhanced station density of 3 to 1 relative to the Earthscope Transportable Array (TA). The design builds on the experience of the first major EarthScope Flexible Array (FA) experiment (SNEP, a.k.a. the Sierra Nevada EarthScope Project) that was set up in the southern Sierra Nevada.
|
Here, the students align the sensor to magnetic north. Terry Stigall writes "I love this photo. Gary's geophysics students were determined to align the Trillium perfectly to north. They really took me seriously to get them perfectly level and lined up to north, and they set the declination on the Brunton correctly!"
|
 |
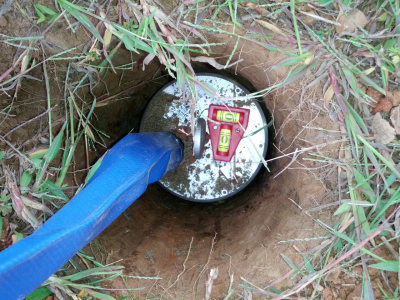 |
Terry's comment on the installation: "They got it spot on level! We used the blue house to protect the cable from shovel and rodents. We also wrapped the connector with Vulcan tape before putting on blue hose." |
|
Here are the condensed instructions for the OIINK team regarding direct burial posthole installations.
|
 |
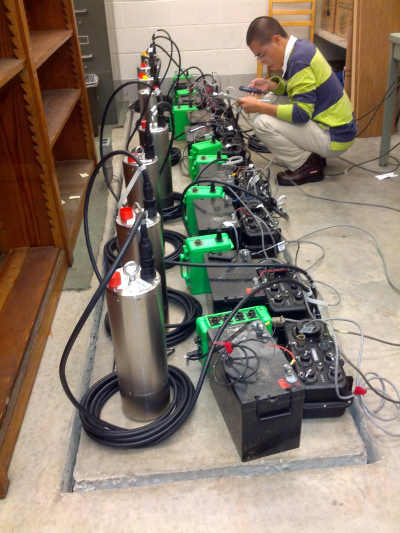 |
Here, Indiana University student Xiaotao Yang tests the Trilliums and other equipment on the isolated pier before deployment in Kentucky. |
|
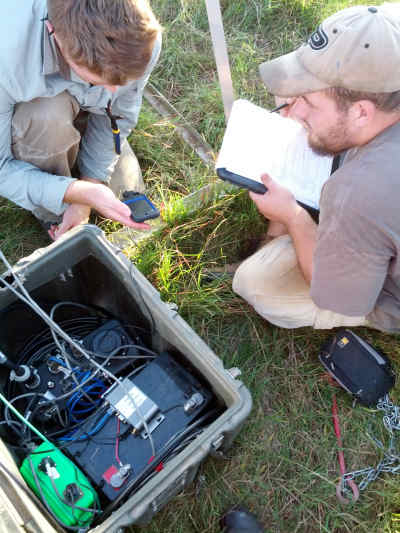
Here, students Brenden Fenerty (L) and Tyler Merrell (R) program the RefTek RT-130 with recording parameters for the sensor deployment. |
 |
 |
The Partners for OIINK include: |

With the increased interest in direct burial of posthole seismic sensors, the results of the OIINK project should prove both interesting and useful. PASSCAL wishes the project continued success.
Read more about OIINK on the project website, and in the OIINK newsletter. There is also an article on OIINK in the Fall 2012 edition of EarthScope's OnSite newsletter.
